Topic 1,
Sub-Topic 1
In Progress
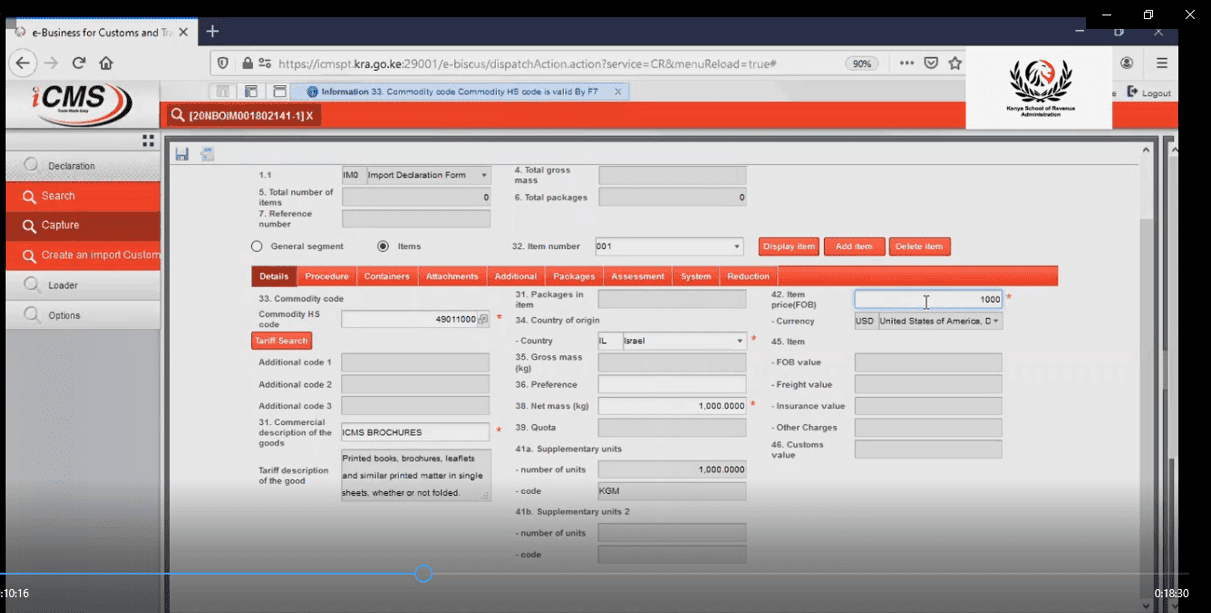
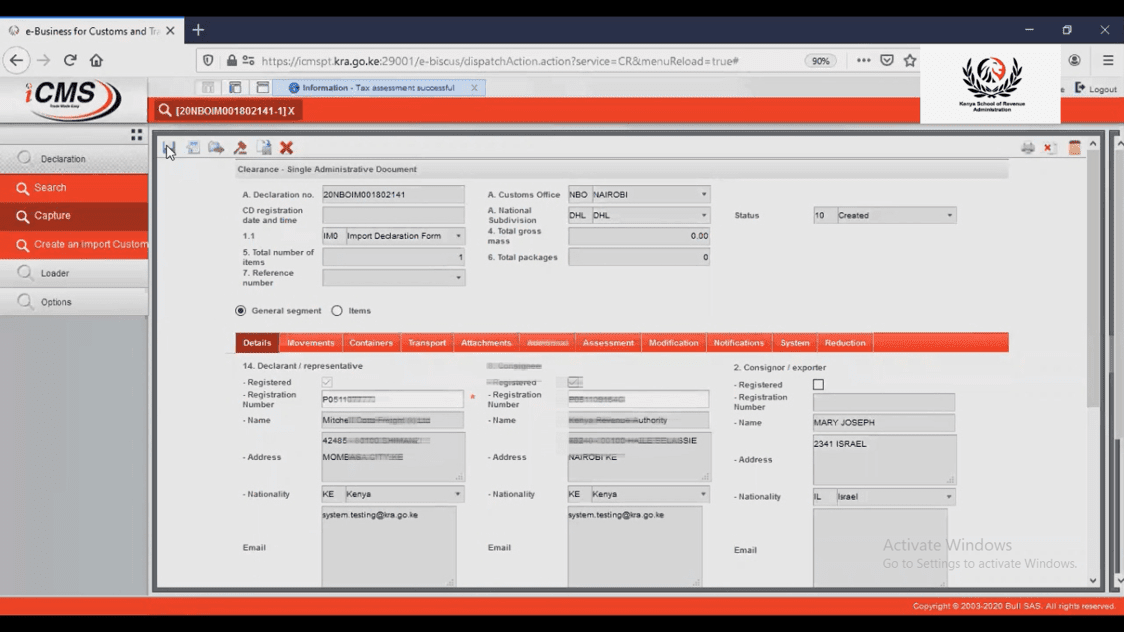
IDF Declaration- Creation, Registration, Printing & Searching


Please confirm you want to block this member.
You will no longer be able to:
Please allow a few minutes for this process to complete.